Building a Strong Street Machine – Part 3: High Performance and Tune-up
- March 16th, 2010
- Posted in Jim Hand: Building A Strong Street Machine . Technical Articles
- By D.A.P.A
- Write comment
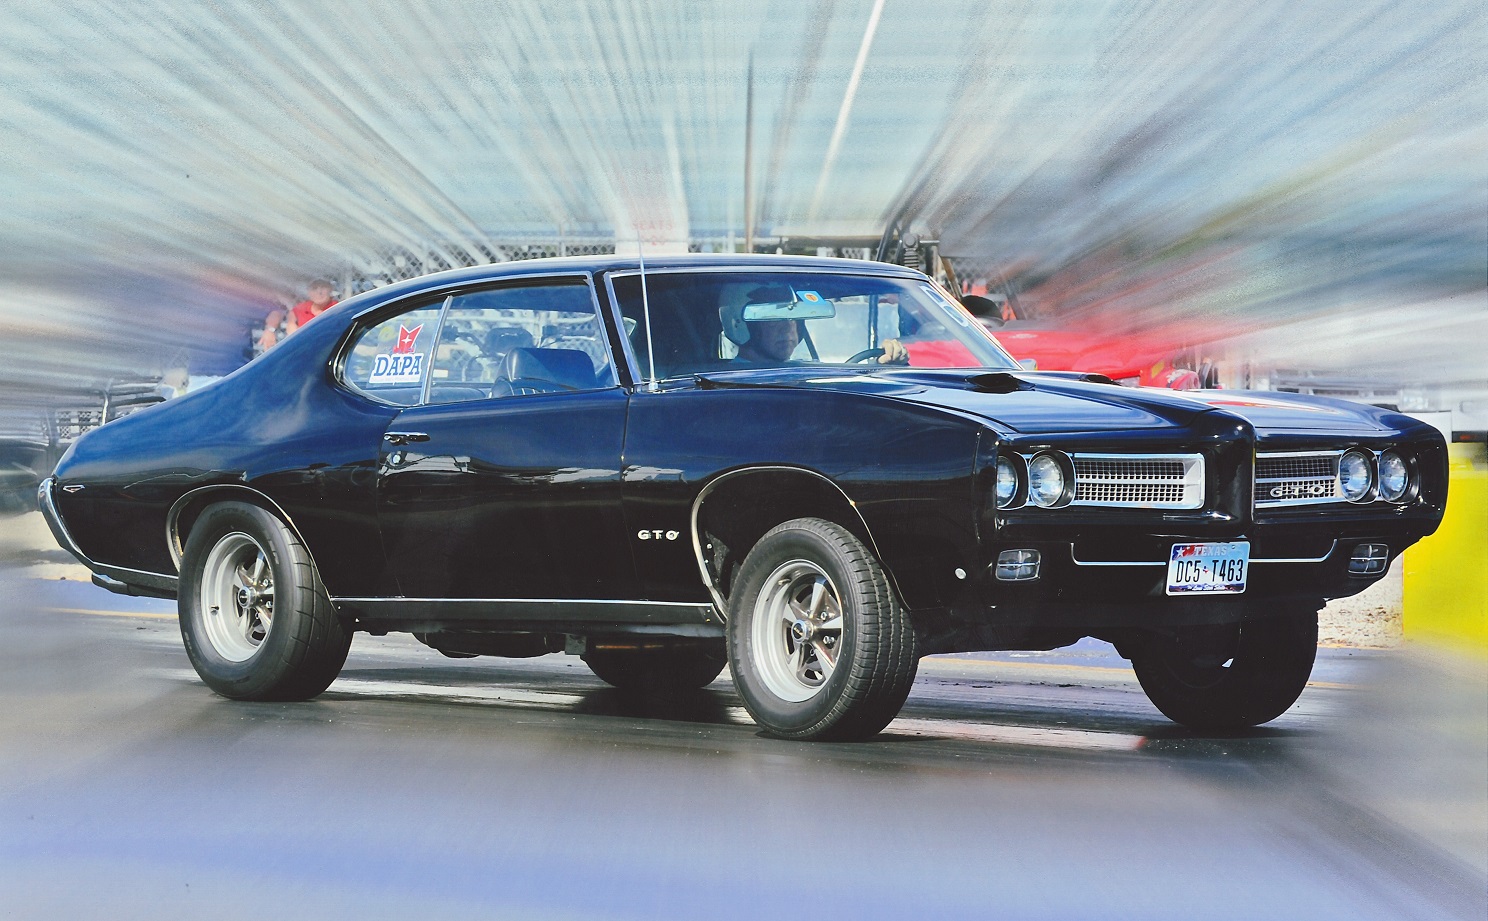
In part 2, we discussed how family characteristics would make an engine react differently to modifications. As an introduction to this part, we will go back to 1970 to review two road tests in the April, 1970 issue of “Car Life” magazine. These tests show how engines from the same manufacturer react with “high performance” modifications. “Car Life” tested two new GTO’s; One was a Ram Air 400 rated at 366 HP @ 5100, 445 ~ torque @ 3600, with 4 speed, 4.10 gear, PS, and PB. The other was a 455 rated at 360 HP @ 4300, 500 # torque @ 2700, with automatic, 3.55 gear, PS, PB, and air conditioning. Following are some pertinent excerpts from the “Car Life” article pertaining to the engines/performance of each.
400; “Wilder camshaft – 4 bolt mains – streamline exhaust manifolds – showed 6800 RPM – ran 14.6/99.55 – was a challenge (to drive) – no power at low speeds – took all morning to perfect the (driving) technique – engine was thirstier than its size and performance would warrant – incredible 8 MPG on the standard mirage check course in convoy with the 455 – noise is also a factor (cue to gearing) – in acceleration, the 4C0 was the winner. The Ram-Air goes faster. It’s temperamental, it isn’t at home during rush hour, and it takes some skill to drive it the way its supposed to be driven.”
455; “(driving) the 455 was easy – all you do is keep your foot down – the 455 went 12 MPG – ran 14.76/95.94 – the 455 goes fast, and its quiet and civilized enough to be driven daily, under any conditions.”
Did the 400 really perform better? The author neglected to mention in the text the “as tested” weights of the cars — The 400 car weighed 4230# and the 455 car weighed 4455 #, a difference of 225#. Our tests show that much weight on a 4000# car changes the 1/4 mile performance by .22 sea and 2.2 MPH. That means the 455 actually would be quicker and would be within 1 MPH of the 400 if compared at the same weight.
What’s the point? Should everyone change to a 455? Of course not. I listed the above comments because they so clearly show what happens when an engine is modified to produce more horsepower by changing to high RPM components. As we mentioned in part 2, it is very difficult to increase horsepower without losing performance in other areas, even by the Factory.
If you are planning to change engines, obtain the largest displacement engine you can. (Note: Pontiac never built so called big or little block engines – they are all the same physical size from the first 287″ to the latest 455″ – except for the 301″. When a reference is made to larger or smaller in this series, the intent is a compassion in cubic inches, not in physical size.) The larger engines perform better with less modifications and are much more enjoyable to drive as evidenced by the magazine article quoted above.
Before considering engine modifications, we should improve the performance of the existing engine by the simplest and lowest cost steps. This is true regardless of the size or model of your engine. The intake system will be discussed first.
INTAKE: Carburetor, air filter, intake manifold, fuel filter, fuel pump , and fuel lines. The very first step is to assure the air filter is clean. Our testing has shown there is no measurable difference in performance between different brands of filters (including the very expensive K & N filters) so save your money.
Next, check the fuel filter. The small units mounted in the inlet of the carbs are restrictive (when full throttle performance is needed) and should be changed regularly. An inline 3/8″ filter is much more efficient, and if installed, the carb filter should be removed. Unless the engine is actually running out of fuel at some RPM, a different fuel pump will not improve performance. If a pump is needed, try to buy a GM unit. A good aftermarket replacement is the mechanical Carter “Super Pump”. Check the fuel lines from the pump to the tank and look for bent, crimped, or damaged lines and repair or replace as needed. The carburetor should be clean inside with good gaskets. The most important adjustments on a Q-Jet are the air valve tension and the vacuum hold off for the air valve (performance), and the choke adjustment (economy).
Some experimentation with the size of the secondary metering rods on the Q-Jets can significantly improve performance. We do not recommend the metering kits that several Pontiac parts vendors are selling. It is unlikely they will be correct for your application and they are very expensive. All parts are available at a GM dealer. The primary metering system will usually work very well with stock components. On most carbs (especially the Q-Jet), the float can be set about 2/32″ lower which will improve economy and hot soak starting problems. A fairly easy modification that will add significant improvement (.1 sec in 1/4 mile) is the addition of a 1 inch spacer under the Q-Jet. It can be made of metal, hard wood, or micarta/bakelite. To check hood clearance for the spacer, loosely crumple a piece of aluminum foil to the size of a golf ball and place it on the highest point of the air cleaner assembly. Slowly close the hood and latch it – open the hood and measure the thickness of the foil. The spacer center can be cut to match the carb gasket or it can be totally open in the center.
For serious drag strip racing, it may be necessary to install a “cool” can between the pump and carb. Heat from the engine block soaks through the pump into the fuel in the pump causing the fuel to expand and the pressure to increase. When the heated fuel enters the carb and expands, it vaporizes and causes a bog or hesitation (vapor lock). Select a fuel with adequate octane for your engine. Higher octane (then needed) does not increase performance. Don’t waste your money on “octane boosters” whose active ingredients are alcohol.
IGNITION: Distributor, coil, ignition wires, and spark plugs. A brief description of an ignition system is in order. The distributor has three functions;
- Provide a timing signal to create the high voltage for the spark plugs,
- Switch the high voltage (spark) to the spark plugs.
- Vary the timing of the spark to complement the demands made on the engine.
The timing is varied two ways; By mechanical weights and springs to compensate for changes in engine RPM, and by a vacuum advance mechanism to compensate for the load on the engine. The coil (in both points type and High Energy Ignition “HEI” distributors) is simply a step up transformer and its function is to change the low voltage pulse from the points (or HEI magnetic pickup system) to a high voltage pulse (spark). Plug wires must conduct the high voltage spark to the plugs with no leakage to ground or the other plug wires. The spark plugs must transfer the high voltage spark from the plug center electrode to the plug body and thus to the engine ground. The spark must occur regardless of the cylinder pressure or cylinder fuel mixture.
First understand that a points type ignition system in proper adjustment is totally adequate for RPM’s to about 5800. The after market multi-spark ignitions may make a marginal engine start and idle better, but generally will not improve actual acceleration performance. That is providing that your stock ignition has factory or equivalent parts and that it is properly adjusted. The HEI ignition system was developed to fire a wider spark plug gap which allows the use of leaner fuel mixtures. Leaner mixtures reduce pollution and improve emission control. The HEI also eliminated the need for points/dwell adjustment. The aftermarket ignitions claim better performance at higher RPM but most work no better than the HEI in our street/strip vehicles. What is important is to get an adequate spark to the plugs at the correct time.
Also, spark plugs are not magic and any quality brand of the correct heat range will work properly. The exotic plugs might have forked tails or platinum electrodes but they will not make your street/strip car run better. Ignition wires have generated many words of print for car magazines, but to simplify the facts, use quality resistance type wires and plugs if specified. (Solid type resistance type wire is preferred as it is less likely to fail.) The resistance in the wires and plugs is considered in the design of the spark generating system and it causes the spark pulse to rise more sharply. It also tends to suppress the ignition noise so as not to interfere with automotive computers, and nearby radio or television. There is essentially no performance difference in plug wires, regardless of the wire resistance, type, or price!
Points type distributors should be adjusted for a dwell of 28 to 32 degrees. (This is equivalent to a point gap of .014.) “Dwell” refers to the time the points dwell together (closed, at which time the coil is charging). For an eight cylinder engine, the maximum theoretical dwell is 45 degrees – 360 divided by 8. The 30 degree dwell allows the coil to charge and at the end of the 30 degree time, the points open causing the charging current which was passing through the coil to suddenly stop. The sudden cessation of current in the coil primary, along with the condenser (capacitor) in the points circuit, causes high voltage to be generated by the coil secondary, and this high voltage pulse is transferred to the appropriate wire/plug by the distributor rotor.
The HEI units need no regular adjustments but they do tend to have a drying/sticking problem with the mechanical advance system. We recommend that WD-40 be sprayed on (and wiped off) the advance mechanism shaft and the advance mechanism moved with your fingers to assure free movement. The plug wires should be kept clean to prevent the high voltage from conducting on the outside of the wire and shorting out or causing a cross fire condition. Lacquer thinner works well for cleaning the wires. When locating and dressing the plug wires, do not route number 5 & 7 wires beside each other. Wires running in close proximity and parallel can induce a voltage from one to the other. As number 7 fires immediately after 5, an induced spark from 5 can cause 7 to try to fire 90 degrees too early thus causing detonation in 7 cylinder. Gap the plugs to .035 for points and .045 to .050 for HEI. The .060 spec. for the early HEI was used in an attempt to ignite extremely lean fuel mixtures. It was soon learned that after about six months, the plug wires began to get dirty/oily and misfires were occurring because the wide spark plug gap was so difficult to fire. Use the heat range recommended for your engine or one heat range hotter. The heat range is an indication of how hot the plug electrode runs during operation. If it is too hot, the electrodes will wear prematurely, and pre-ignition could occur. If it is too cold, the electrodes will get a carbon/oil/crap buildup on them causing the spark to leak to ground instead of arcing across the electrodes as designed. The majority, if not all, of our Pontiacs are not run long enough or hard enough to warrant colder plugs.
Do not waste money on “hotter” coils. Keep the coil clean and connect the lead from the distributor to the coil negative terminal. If a coil is needed, use a Delco or other good brand of stock replacement.
As mentioned above, the most important factor for an ignition system is to get it to fire at the proper time. The best performance occurs when the spark occurs early enough to cause optimum combustion as the piston is starting down on the firing stroke. As the RPM increases, the spark must occur earlier in relation to TDC because the combustion process takes a given time. This is the task of the mechanical advance system. Typically, an advance system begins the advance at about 1500 RPM and totals about 12 degrees at approximately 3500 RPM. This works fairly well for a manual transmission car, but we have found that all automatics run noticeably better with additional advance beginning much earlier. On the post ’71 lower compression engines, we start the advance at approximately 900 RPM and try to get 20 to 25 degrees in by 1800/2000 RPM. The earlier, higher compression automatics can only stand 15 to 20 degrees. We than set the initial timing such that the total of mechanical and initial advance is 33 to 35 degrees on 455’s, 30 to 33 degrees for the higher compression 389’s/400’s/421’s, and 36 to 40 degrees for the later low compression 400’s. To assist in setting the timing, file and paint a 30 degree timing line on your harmonic balanced. Simply measure the circumference of your balances and divide that number by 12. (360 divided by 12 equals 30) Place the mark clockwise (while standing at the front of the engine) at the correct dimension from the TDC mark.
The function of the vacuum advance is to increase timing during no or light load conditions. This causes much improved fuel economy and makes the engine run smoother. We have the vacuum connected on both Gary’s and my street/strip cars. It will probably be necessary to limit the vacuum advance after changing the mechanical advance. Typically, the Factory installs about 22 degrees vacuum advance. We find that about 15 degrees is enough after increasing the mechanical. Adjustable units are available but I have found that limiting the travel of the rod from the advance unit to the advance plate by about 25% of its travel does the job. I braze a stop but you can also use other methods. As the vacuum advance retards to 0 during hard acceleration, the vacuum advance has no effect on performance at wide open throttle.
To set timing, follow these steps. Disconnect the vacuum advance and plug the line. Adjust total timing to the numbers mentioned above. Run the car at full throttle in 1st or 2nd gear on the road and listen for pinging (detonation). If pinging is heard, reduce total timing until no or very little pinging is heard. Connect the vacuum advance. With car in 2nd or 3rd, drive steady at 20 to 30 MPH and gradually accelerate. Some pinging should be heard. Accelerate harder (while trying to keep the transmission in the same gear) and all pinging should stop. If it does not stop, limit the amount of vacuum advance as noted above. Of course, these steps should be done while using the actual fuel or fuel mix you normally use.
This sounds like a lot of work but you can probably gain more performance with these relatively simple checks and modifications than by spending money on aftermarket parts.
EXHAUST SYSTEM: Exhaust manifolds, exhaust and tail pipes, and mufflers. For any sort of performance use, dual exhausts are almost mandatory . A single system with a good collector into a 3″ pipe and muffler would work well but is not very practical. Dual pipe sizes of 2 ¼” or 2 ½” is adequate in most cases. Three inch exhaust pipes may help the higher performance cars, but three inch tailpipes are not needed unless your engine is generating at least 475 HP. Quality mufflers should be used, and even with three inch exhaust pipes, 2 1/2″ mufflers with a quality 3 to 2 ½” reducer are adequate. Three inch mufflers are extremely noisy. Our tests show the Walker Super Dyno-Max performs as well as all others, is the quietest of the modern performance mufflers, and it is reasonably priced. Use the 25″ long model, if possible, because it is noticeably quieter than the 20″ unit. In order of increasing performance, stock manifolds, Ram-Air/HO cast manifolds, three tube headers. or four tube headers can be used. The Ram Air/HO manifolds and three tube headers will improve 1/4 Mile performance by approximately .1 second. The 4 tube headers will improve performance up to .2 seconds when the engine is tuned for them. This is probably not enough performance gain to notice on the street, although you will hear a noticeable difference in sound with the cast or tube headers. Tube headers are difficult to install and they quickly develop rust and holes. In summary, four tube headers should be installed for serious drag strip work, cast headers are a great compromise for any use, and stock manifolds do a good job, are immediately available, and are free. You make the call!